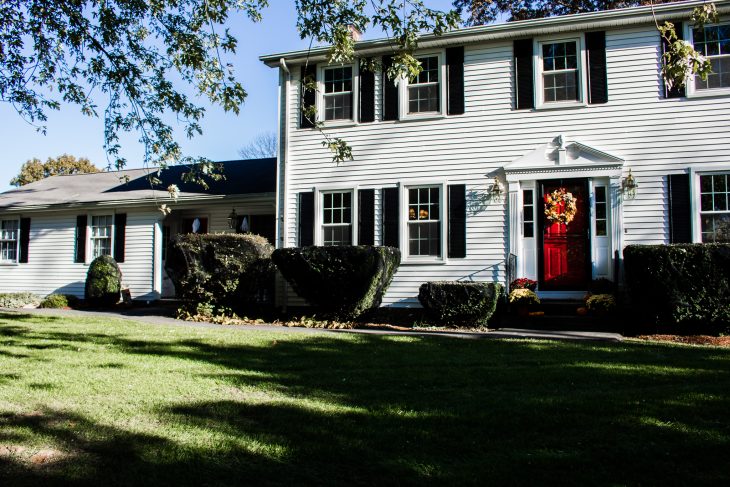
When we decided to move to Connecticut, my husband had ONE request: a white colonial with black shutters and a red door. Well, we found our dream home, a white colonial in need of upgrades, but it was missing something BIG. The black shutters and red door! I’m here to share with you a tutorial on How to Paint Vinyl Shutters. It’s so easy that anyone can do it with some spray paint, a ladder, and a few little tools.
We saved $2000 by painting our existing outdoor vinyl shutters instead of having a professional replace the shutters. The vinyl shutter replacement quote was $2500, including materials and labor. However it is less expensive to purchase paint for exterior vinyl shutters instead of replacing each shutter.
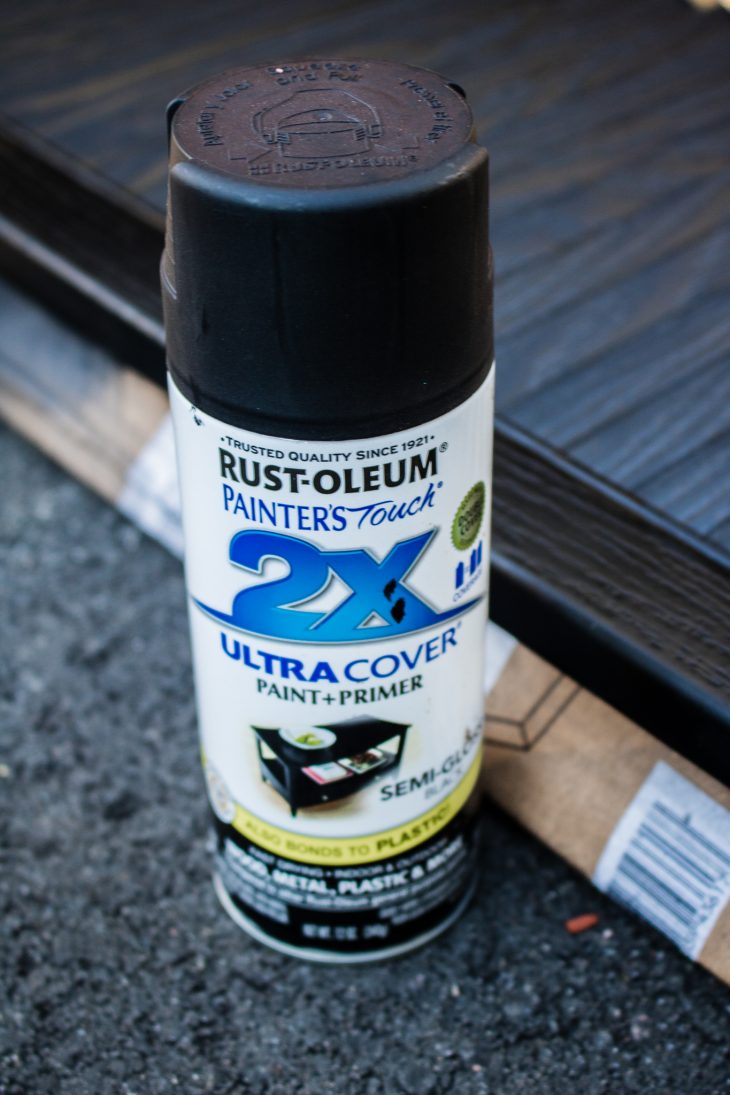
Painting your exterior vinyl shutters requires a few steps and supplies. If you want to paint outdoor vinyl shutters, you will need an extension ladder, power drill, screwdriver, Rust-Oleum Painter’s Touch 2x Ultra Cover Paint and Primer, Dish Soap, Bucket, Water Hose.
Step 1: Remove the shutters
Use a screwdriver or power drill to remove the vinyl shutters from the exterior of your home. Place all screws (or plastic buttons) in a Ziploc bag so they do not get lost. We actually had to purchase new screws as some of ours were stripped during the removal.
TIP: Mark the placement of your shutters using letters and numbers. Our shutters were different sizes and we marked them started from the bottom left of the house: 1A/1B. 2A/2B.
Step 2: Clean the shutters
Window shutters accumulate dirt, mildew, cobwebs, and more while hanging on your home. Use a mixture of dish soap and water to scrub the shutters lightly. We used a bucket of soapy water and a bucket of clean water, but it is easier to rinse with a hose. Allow the shutters to dry completely in the sun before beginning the next step.
Tip: Use a mixture of bleach, soap, and water if there is a considerable amount of mildew on the shutters. A power washer or powerful hose is helpful when rinsing as well.
Step 3: Paint the shutters
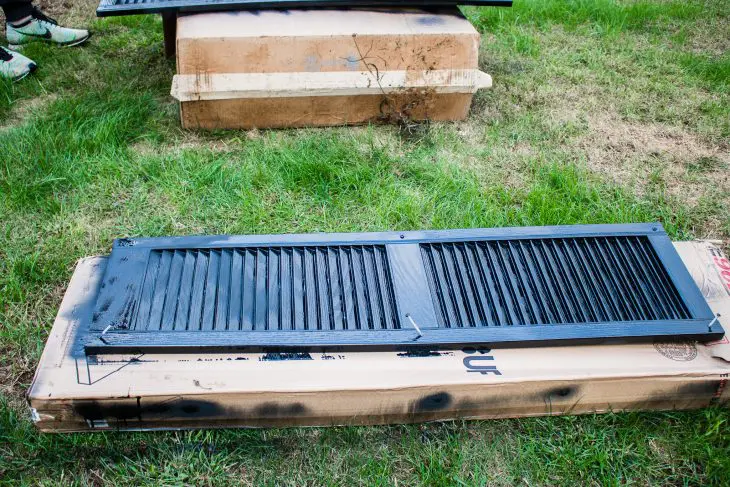
Place your shutters on a workhorse, table, or cardboard in your driveway. The best spray paint for vinyl shutters we found and decided to use was a black semi-gloss Rust-oleum Painters Touch 2X Ultra Cover Paint and Primer. This spray paint is easy to use and goes on smoothly. We actually tried a flat spray paint on the first set of shutters, but disliked the look so much. Semi-gloss is much more sharp and appealing.
Spray the shutters following the grain of the vinyl. We watched this video for tips on how to spray paint the shutters in a way that wouldn’t leave streaks or drips. You can leave the screws in the holes of the shutters so they are painted all at once, or paint them separately.
Wait at least 1 hour before adding a second coat of paint. We used TWO to THREE COATS of paint on the shutters, which came out to roughly one can of spray paint per two shutters.
Note: Many DIYers suggested a paint sprayer, but it was unnecessary as we used cans of spray paint.
Step 4: Allow the shutters to dry overnight.
Step 5: Hang your shutters.
My husband and brother in law worked simultaneously to hang the shutters back on our house. Once the shutter was screwed back onto the house, we used a tiny sponge dipped in a capful of paint to touch up the screws.
Step 6: ENJOY YOUR NEW SHUTTERS
We are thrilled with our new black shutters (red doors and black storm doors too). It is amazing what a few coats of paint and two days work can do for the exterior of a home. We will be replacing the light fixtures over the next few months, but for now we can just sit back and enjoy the fruits of our labor.









What a dreamy house! The red door adds the perfect pop of color.
Wow the black shutters look awesome! I love how classic the red door is and your home is beautiful!
xo, Sara
Loooove it. Looks amazing. I’ve used Rust-oleum sprays to change the color of our entrance table to a glossy black and it was super easy to do. Made a real difference and cost virtually no money. Our exterior needs a re-paint job so badly!
Woah the before and after! Never thought the color of shutters would make such a big difference. Your house looks beautiful, congrats!
Soooooo this kinda reminds me of the house from The Notebook!
Very beautiful!
Your house looks amazing! I am loving you how to posts so helpful around my house! You can save so much money doing things yourself I am finding! (And a lot of it isn’t that hard!)
100% bookmarking this for the future! Thank you so much for sharing this! And OMG your home looks so good – love the change!
xo Laura Leigh
http://www.louellareese.com
The finished product looks amazing !
It really makes such a huge difference. The house actually looks more classic, yet sophisticated, and I love it! You all did a phenomenal job – and I can’t believe how much money you saved!
Red and black is such a classic look! You are lucky your husband is handy and could do the project with only a little bit of help, because $2,000 is an incredible amount to save!
Chic on the Cheap
Red and black is such a classic look! You are lucky your husband is handy and could do the project with only a little bit of help, because $2,000 is an incredible amount to save!
You did an amazing job with the shutters and that red door really pops!
how did this hold up over time? have you noticed any fading or cracking in the paint?
It has been a year and they still look great! No fading or cracking in the paint.
What color and brand of paint did you use on the front door?